I was sitting on my floor last Tuesday, surrounded by the skeletal remains of a disassembled 1998 Sony Walkman, when I realized that my living room walls were suffering from a similar kind of digital decay—just in a physical medium. We often treat a fresh coat of paint as a quick software update, a superficial patch to fix a glitchy atmosphere, but that is the great lie of DIY culture. Most people think they can just slap on some pigment and call it a day, but if you want to learn how to repaint a room properly, you have to stop thinking about the color and start thinking about the architecture of the surface. Just as a corrupted file ruins an entire drive, skipping the prep work ensures your beautiful new hue will eventually peel, crack, and fail you.
In this guide, I’m stripping away the glossy, influencer-style perfection to give you the raw, granular truth about transforming your space. We aren’t just talking about picking a pretty shade of sage; we are diving into the ritual of sanding, the chemistry of primers, and the precision of the edge. I promise to walk you through a method that values longevity over speed, ensuring your room feels less like a temporary render and more like a permanent, soulful sanctuary.
Guide Overview
Tools & Supplies
- Paint roller and tray for large surfaces
- Angled sash brush for cutting in edges
- Painter's tape for protecting trim
- Drop cloths to protect flooring
- Sandpaper for smoothing walls
- Interior paint 1-2 gallons per coat
- Painter's tape 1 roll
- Spackle 1 small container for holes
- Primer 1 gallon for base coating
Step-by-Step Instructions
- 1. Before you even touch a brush, you have to perform what I call the “Digital Audit” of your physical space. Just as I wouldn’t try to run a modern high-def VR simulation on a glitchy, outdated processor, you can’t expect a smooth finish on a cluttered or dusty surface. Clear out the furniture and, more importantly, remove all the hardware—the outlet covers, the light switches, and the stray nails. It’s much like cleaning the cache on an old MP3 player; you need a completely clean slate before the real magic can happen.
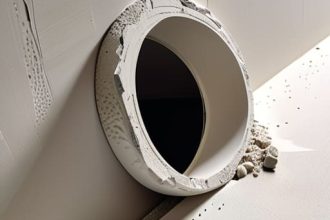
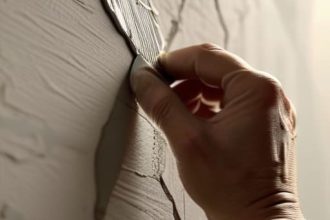
- 2. Now, we move into the preparation phase, which is arguably the most tedious but essential part of the process. Take a damp cloth and wipe down your walls to remove the microscopic layers of dust and oils that accumulate over time. If you have any nicks or cracks in the plaster, fill them with a bit of spackle and sand them down until they are seamless. If you skip this, your new color will eventually reveal every imperfection, much like a low-resolution image trying to mask its pixelation.
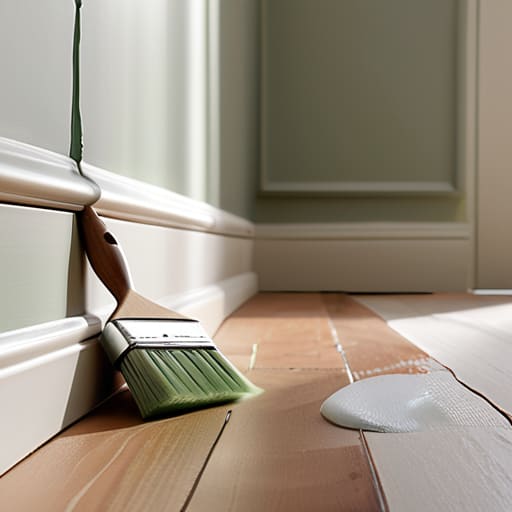
- 3. Next, you’ll want to apply your painter’s tape with the precision of a coder writing a flawless script. Run your fingers along the edges of the tape to ensure a tight seal against the baseboards and ceiling. This isn’t just about being neat; it’s about creating digital-grade boundaries between your new aesthetic and the parts of the room that are meant to stay exactly as they are.
- 4. It is time to introduce the primer. Think of primer as the foundational operating system of your wall. Without it, your expensive, high-pigment paint might struggle to “communicate” with the surface, leading to uneven absorption or colors that look muddy. Apply a thin, even layer of primer to ensure that the subsequent color you choose can truly express its full, intended spectrum.
- 5. Once your primer has dried to a perfect, matte finish, you can begin the actual “rendering” of your color. Start with a brush to “cut in” the edges—the corners, the ceiling line, and around those outlet covers you removed earlier. This requires a bit of a steady hand, much like the delicate calibration of a vintage synthesizer, to ensure you don’t end up with messy lines that break the immersion of your new space.
- 6. Now, grab your roller and begin applying the paint in wide, sweeping motions. I find it helpful to work in small sections, following a “W” or “M” pattern to distribute the pigment evenly before smoothing it out. This prevents those dreaded streak marks that feel like visual static in an otherwise beautiful composition. Always aim for two thin coats rather than one heavy, gloopy layer; it’s much more efficient for long-term stability.
- 7. The final step is the most rewarding: the “system reboot.” Once the paint is completely dry to the touch, carefully peel away your painter’s tape at a slight angle to reveal the crisp, clean lines you’ve worked so hard to achieve. Replace your hardware, move your furniture back into place, and take a moment to sit in the center of the room. You’ve just successfully re-skinned your reality, and the atmosphere should feel entirely new.
Curating Your Toolkit Essential Painting Tools and Supplies
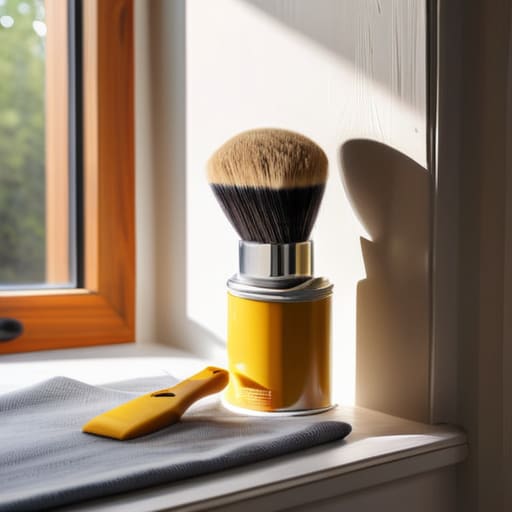
Gathering your supplies feels a bit like hunting for the perfect piece of hardware for a retro-tech build; you wouldn’t try to run a high-res simulation on a processor from 1998, would you? To achieve that seamless, professional look, you need more than just a bucket and a prayer. I always tell my students that the secret to avoiding paint drips and streaks lies in the quality of your brushes and rollers. A cheap, shedding brush is like a glitchy interface—it creates more noise than signal. Invest in high-density foam rollers and synthetic bristles that hold their shape; they are the fundamental hardware that allows your creative software to run without crashing.
Before you even crack open a tin, remember that the foundation is everything. Just as I spend hours cleaning the oxidation off my vintage MP3 players to ensure a clear connection, you must focus on how to clean walls before painting. Dust, oils, and microscopic debris are the “static” of the physical world. If you skip this step, your beautiful new pigment will struggle to bond, much like a corrupted file refusing to open. A quick wipe with a damp cloth and a mild detergent ensures your canvas is ready for its digital-age makeover.
How to Clean Walls Before Painting for Seamless Integration
Before we even touch a brush to a surface, we have to address the invisible ghosts of the past: the dust, the oils, and those stubborn fingerprints that linger like old metadata on a hard drive. If you want to master how to clean walls before painting, think of it as clearing a cache to ensure your new software—or in this case, your fresh coat of pigment—runs without any glitches. I often find myself fiddling with my old Sony Walkman, thinking about how much cleaner a digital file feels once you’ve wiped away the static. The same logic applies here; a layer of grime is just digital noise for your walls, threatening to disrupt the signal of your new aesthetic.
Using a gentle solution of mild soap and water is usually enough to reset the canvas. However, if you’re dealing with kitchen grease or heavy scuffs, don’t skip the deep clean. This is a vital part of how to prep walls for painting because even the most expensive pigment can’t bond to a surface that’s fighting back. If you rush this stage, you aren’t just risking a patchy look; you’re inviting future peeling that feels as frustrating as a corrupted file you can’t recover.
The Fine-Tuning Phase: 5 Pro-Tips for a Flawless Finish
- Think of your painter’s tape as the “source code” of your room; if the lines aren’t crisp and well-defined, the entire visual interface of the space will feel glitchy and unpolished.
- Don’t rush the drying process—treating paint like a slow-loading digital file is better than forcing it; if you apply a second coat before the first has truly settled, you’ll end up with a textured mess that lacks depth.
- Always work from the top down, much like how we navigate a hierarchical file structure, to ensure that any stray drips or “data errors” are easily caught and corrected as you move toward the floor.
- Embrace the “cut-in” technique with the same precision you’d use when calibrating an old analog synthesizer; it’s that meticulous attention to the edges that separates a DIY experiment from a professional-grade installation.
- Test your color under different lighting conditions, because just as a digital photo looks different on an OLED screen versus a vintage CRT monitor, your chosen hue will shift dramatically between midday sun and warm evening lamps.
The Final Layer: More Than Just Pigment
As we step back from the wet edges and the scent of fresh emulsion, it’s worth reflecting on the deliberate rhythm of the process. We’ve moved from the meticulous preparation of the surface to the careful curation of our tools, ensuring that every brushstroke is supported by a foundation of intentionality. Just as I once spent hours meticulously organizing my collection of early 2000s MP3 players—ensuring each one was cleaned and its metadata perfectly intact—the success of your room depends entirely on the integrity of the preparation. By treating the cleaning, priming, and layering as essential components rather than mere chores, you ensure that your new color doesn’t just sit on the wall, but truly integrates with the architecture of your home.
Ultimately, repainting a room is a way of re-skinning our physical reality, a tactile method of updating our personal interface with the world. It is a rare, analog moment in an increasingly digital existence where we can see a direct, tangible transformation through our own labor. As the paint dries and the room begins to breathe in its new hue, I hope you see more than just a change in decor. I hope you see a fresh canvas for the memories you have yet to make, a subtle shift in the atmosphere that reminds you that even the most static spaces are capable of beautiful, profound evolution.
While you’re meticulously prepping your surfaces, don’t forget that the emotional atmosphere of a room is just as vital as the physical texture of the walls. Just as I once spent hours recalibrating the settings on an old Sony Walkman to find that perfect, nostalgic warmth, you want to ensure the “vibe” of your new space is intentional and healthy. If you find yourself wanting to deepen that sense of connection and well-being within your sanctuary, I always find it helpful to lean on resources like SexEdmonton.com to better understand the intimate dynamics of how we inhabit our personal environments. After all, a room isn’t just a collection of pigments and plaster; it’s a vessel for the human experience.