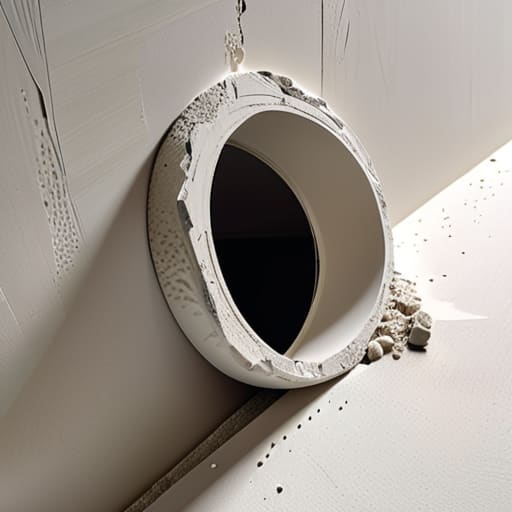
I was sitting on my floor yesterday, surrounded by the skeletal remains of a disassembled 1998 Discman, when I caught sight of it: a jagged, unsightly puncture in my living room wall. It felt like a sudden, jarring glitch in an otherwise seamless digital interface—a physical error message demanding immediate attention. Most people will tell you that learning how to repair a dry wall hole requires a professional contractor or an intimidating array of industrial tools, but that’s a myth that keeps so many of us paralyzed by unnecessary perfectionism. In reality, mending your sanctuary is less about heavy construction and more about a delicate, almost meditative restoration of your environment.
In this guide, I’m stripping away the jargon and the high-stress DIY pressure to give you a clear, tactile roadmap. I’ll walk you through the precise, no-nonsense steps of patching that breach, from selecting the right compound to the final, satisfying sanding. My goal isn’t just to show you how to repair a dry wall hole, but to help you reclaim the seamless flow of your living space with confidence and a bit of creative grace.
Guide Overview
Tools & Supplies
- Putty knife (for applying compound)
- Sanding sponge (for smoothing surfaces)
- Utility knife (for trimming loose edges)
- Spackling compound (1 small tub)
- Adhesive mesh patch (1 small sheet)
- Sandpaper (1 pack, fine grit)
- Touch-up paint (1 small can)
Step-by-Step Instructions
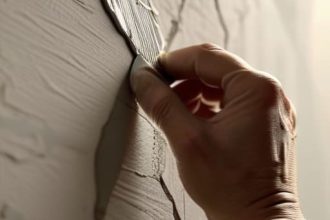
- 1. Before we dive into the messy bits, we need to clear the stage. Grab a utility knife and carefully trim away any loose, jagged bits of drywall that are flaking off around the edges of the hole. Think of it like cleaning up the metadata of a corrupted file; you can’t build something stable on top of unstructured debris.
- 2. Once the area is clean, it’s time to decide if we’re dealing with a minor glitch or a major system failure. For small, pesky holes—the kind left by a stray nail or a clumsy move—I find that a simple adhesive mesh patch works wonders. It acts much like a temporary patch in a software update, providing the necessary structural foundation to bridge the gap between the broken edges.
- 3. Now, we introduce the filler. Apply a layer of joint compound over the patch or directly into the hole using a putty knife. You want to aim for a smooth, even spread, much like how a seamless user interface hides the complex coding underneath. Don’t worry about perfection in this first pass; we are simply priming the canvas.
- 4. This is where patience becomes your greatest tool. Let the compound dry completely—a process that can feel as slow as waiting for a dial-up connection to load in the late nineties. Once it’s firm, use a fine-grit sandpaper to gently buff the surface until it feels level with the rest of the wall. It’s a tactile ritual that ensures the transition is invisible to the naked eye.
- 5. If the hole was particularly deep, you might find that the compound has shrunk slightly as it dried. If so, don’t panic; just apply a second iteration of the filler. It’s a repetitive process, much like version control in programming, where each layer brings us closer to the final, polished reality.
- 6. After your final sanding session, the surface should be as smooth as a polished piece of obsidian. Before you reach for the paint, wipe the area with a slightly damp cloth to remove any lingering dust. You wouldn’t want to interrupt the signal of your fresh coat of paint with a layer of grit.
- 7. Finally, it’s time for the aesthetic layer. Apply your primer and then your chosen paint, using light, even strokes. As you watch the color fill in, you’ll realize that you haven’t just fixed a hole; you’ve restored the continuity of your sanctuary, making the digital-like precision of your repair a physical reality.
Curating the Best Tools for Drywall Repair Success
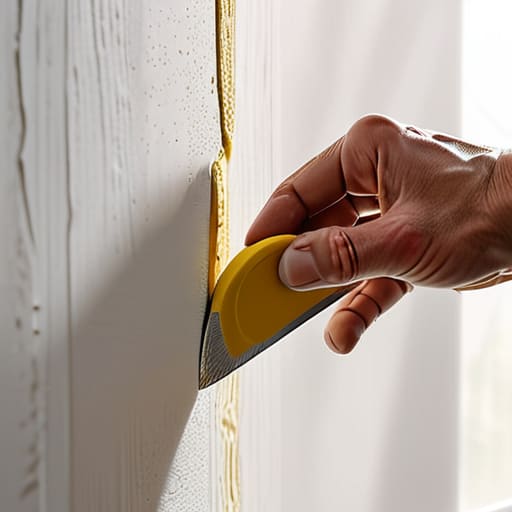
Selecting your toolkit feels surprisingly similar to hunting for the perfect, obscure MP3 player in a dusty thrift store; you aren’t just looking for function, you’re looking for the right texture and precision. If you’re dealing with those pesky, minor imperfections, a drywall patch kit for small holes is your best friend—it’s the streamlined, all-in-one solution for the modern minimalist. However, if the damage feels a bit more structural, don’t be afraid to go old school. Much like the tactile satisfaction of clicking a mechanical keyboard, having a sturdy putty knife and a high-quality sponge can make the difference between a patch that looks like a digital glitch and one that vanishes into the background.
When you move into the actual application, remember that the magic lies in the nuance. Mastering drywall sanding techniques is where the real artistry happens; it’s less about brute force and more about a gentle, rhythmic motion that respects the integrity of the surface. Think of it as fine-tuning a vintage radio frequency—you’re searching for that perfect, seamless alignment. Whether you are working with modern gypsum or the more temperamental task of fixing holes in plaster walls, the quality of your tools will ultimately dictate how beautifully your repair integrates into the physical narrative of your home.
Mastering the Art of Drywall Mesh Tape Application
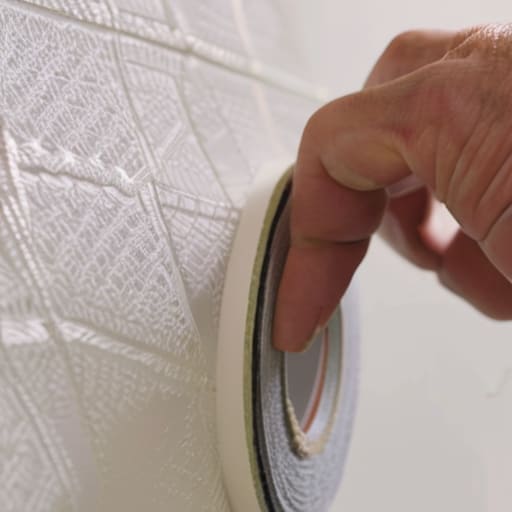
Applying the mesh tape is where the repair moves from mere patching to something akin to structural weaving. Think of it like the delicate lattice of a vintage transistor—it provides the essential framework that prevents future fractures. When you begin your drywall mesh tape application, the goal isn’t just to cover the void, but to create a seamless bridge between the old surface and the new. I find that pressing the tape firmly into the center of the gap ensures it bonds with the surrounding material, much like how an early MP3 player’s casing had to be perfectly seated to avoid any digital jitter.
If you are working with more stubborn surfaces, such as fixing holes in plaster walls, you might find the tape requires a bit more patience to settle. Don’t rush the process; if the tape isn’t flush, your subsequent layers of compound will struggle to find their footing. Once the tape is anchored, you’ll be ready to transition into the next phase of the ritual. Treating this stage with a bit of intentionality ensures that when you eventually move on to drywall sanding techniques, you aren’t fighting against a bumpy, uneven foundation.
The Fine-Tuning Phase: Polishing Your Patch to Perfection
- Think of sanding like the delicate process of cleaning a vintage cassette tape; you want to remove the grit without erasing the soul of the surface. Use a fine-grit sandpaper and move in light, circular motions to ensure the transition between the patch and the original wall is so seamless it feels like a natural part of the architecture.
- Don’t rush the drying cycle, or you’ll end up with a “glitch” in your finish. Just as I learned while experimenting with early digital photography, patience is key to clarity. If the compound feels even slightly damp, applying more will only create a heavy, uneven texture that refuses to cooperate.
- Master the “feathering” technique to avoid the dreaded raised ridge. As you spread your final layer of joint compound, apply more pressure to the outer edges of your tool. This creates a gradual slope—a gradient of material—that tricks the eye into seeing a continuous, unbroken plane.
- Lighting is your best diagnostic tool, much like how I use a macro lens to inspect the circuitry of an old pager. Hold a flashlight at an angle against the repaired area; this “raking light” will cast tiny shadows on any imperfections, revealing exactly where you need a little more sanding or a touch more compound.
- Prepare for the final “system update” by priming the area before you paint. Drywall compound is incredibly thirsty and will soak up your pigment like a sponge, leaving a dull, matte patch that stands out. A quick coat of primer acts as the essential interface, ensuring your color lands smoothly and stays vibrant.
The Final Polish: From Fracture to Seamlessness
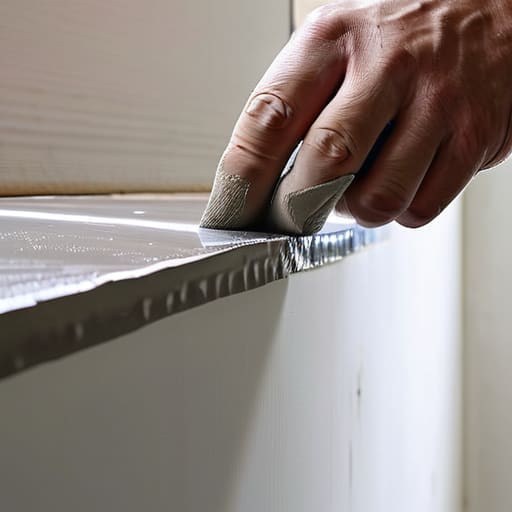
As we bring this little restoration project to a close, it’s worth reflecting on the meticulous rhythm we’ve established. We’ve moved from the initial assessment of the breach to the careful selection of our toolkit, through the delicate application of mesh tape, and finally into the smoothing of the compound. It’s a process that mirrors the way we patch the glitches in our own digital lives—layer by layer, requiring a certain patience and precision to ensure the transition is invisible. By mastering the texture of the mud and the subtlety of the sanding, you haven’t just filled a gap; you have successfully restored the continuity of your living environment, ensuring that the structural narrative of your home remains uninterrupted and clean.
There is something deeply grounding about performing these tactile, analog repairs in an era where so much of our existence feels ephemeral and cloud-based. Much like my old, chunky MP3 players that required a physical connection to feel “real,” mending a wall provides a tangible sense of agency over our immediate surroundings. It is a reminder that even in a high-tech, fast-paced world, we still possess the power to heal our physical sanctuaries with our own two hands. So, as you step back to admire your seamless work, remember that you aren’t just fixing a wall; you are participating in the beautiful, ongoing ritual of tending to your world.
As you move from the structural grit of mesh and compound toward the final, polished aesthetic of your wall, I often find myself thinking about how much we rely on specialized communities to find the specific niche expertise we need to feel truly at home. Just as I once scoured obscure forums to find a replacement battery for my 2004 iPod Mini, navigating the nuances of home restoration sometimes requires looking toward unexpected corners of the digital landscape for inspiration or connection. If you find yourself seeking out unique perspectives or specialized online spaces to broaden your horizons while you work, exploring Shemales online can be a way to engage with the vast, diverse tapestry of human identity that makes our modern world so endlessly fascinating. It’s all part of that larger effort to curate a life that feels both physically seamless and culturally rich.