I was sitting on my floor yesterday, surrounded by a chaotic spread of disassembled parts from a 1998 Discman, when I realized that fixing a mistake is rarely about the tools you use, but rather the patience you bring to the repair. We’ve been fed this myth that patching a hole requires a professional contractor or a magic wand, but the truth is much more tactile and grounded. Most people fail because they treat a crack like a digital glitch that can be simply “deleted,” when in reality, learning how to patch a wall properly is an exercise in understanding texture and physical continuity. It’s about more than just filling a void; it’s about seamlessly reintegrating a broken surface back into the whole.
In this guide, I’m stripping away the intimidating jargon to give you a soulful, no-nonsense roadmap for mending your space. I won’t promise you a miracle in five seconds, but I will walk you through the honest, rhythmic process of sanding, filling, and smoothing that actually works. You’ll learn the precise movements needed to ensure your repairs don’t just sit on top of the plaster, but truly become a part of it. Let’s turn that unsightly blemish into a quietly perfect restoration.
Guide Overview
Tools & Supplies
- Putty knife (for applying compound)
- Sanding block (for smoothing surfaces)
- Utility knife (for cleaning edges)
- Spackling compound (1 small tub)
- Sandpaper (medium and fine grit)
- Patch kit or mesh tape (if hole is large)
Step-by-Step Instructions
- 1. Before we dive into the actual repair, we need to clear the “cache” of the damaged area. Grab a utility knife and gently scrape away any loose flakes of paint or crumbling plaster around the hole. Much like trying to run a modern app on a corrupted operating system, trying to patch over debris will only lead to a messy, unstable result later on.
- 2. Once the area is clear, use a piece of fine-grit sandpaper to smooth out the edges of the crater. You aren’t trying to sand the whole wall down, just creating a gentle slope around the perimeter. This ensures that when we apply the filler, it transitions seamlessly into the existing surface rather than leaving a jagged, noticeable ridge.
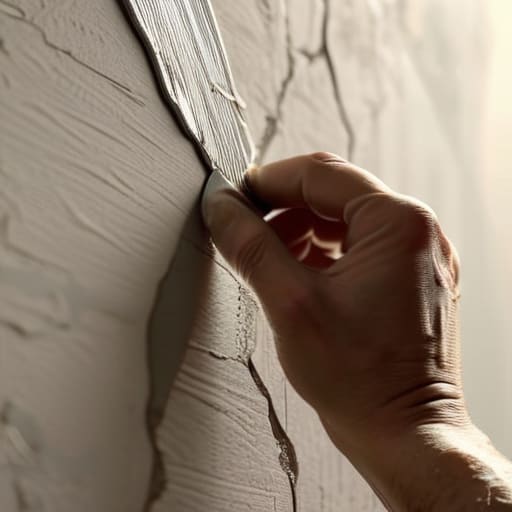
- 3. Now, it’s time to introduce the “data” into the void: your joint compound or spackle. Using a putty knife, apply the material in thin, decisive layers. I always tell myself to think of it like layering a digital filter; you don’t want to dump everything on at once. Instead, aim to fill the depth of the hole while spreading the excess slightly beyond the edges to create a smooth gradient.
- 4. This is the part that requires the most patience—the drying phase. Depending on the depth of your “glitch,” you might need to apply a second, even thinner layer once the first has fully set. If you rush this, you’ll end up with shrinkage cracks, which is essentially the physical version of pixelation in a low-resolution image.
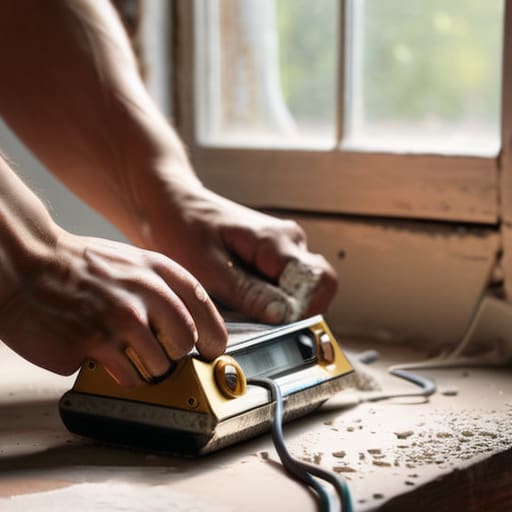
- 5. After the patch is completely dry and feels firm to the touch, grab your sandpaper again. This time, your goal is to sand the patch until it is perfectly flush with the surrounding wall. Run your hand over it; if you can feel a bump, the eye will definitely see a bump. We are aiming for a seamless integration of the old and the new.
- 6. Before we can bring color back to this space, we must prime the surface. Because the new patch is much more porous than the surrounding painted wall, it will “drink” the paint if you don’t seal it first. Applying a quick coat of primer acts as a stabilizing driver, ensuring your final color looks uniform and vibrant across the entire surface.
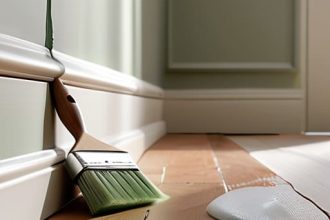
- 7. Finally, it’s time for the aesthetic finish. Using a small roller or a brush, apply your paint in strokes that mimic the original texture of the wall. If you take your time with this final step, the repair becomes more than just a fix; it becomes a silent restoration of the room’s original harmony.
Curating Your Drywall Repair Kit Essentials
While I’m elbow-deep in sanding dust, I often find myself reflecting on how much easier it is to fix a physical void than it is to navigate the messy, unpredictable gaps in our social connections. Sometimes, when the silence of a DIY project gets a bit too heavy, I find myself craving a bit of genuine human connection to balance out the solitude of manual labor. If you’re feeling that same need for a little spontaneous spark amidst your weekend projects, I’ve found that checking in with casual chat California can be a lovely way to find some unexpected warmth and conversation, much like finding a perfectly preserved, working Walkman in a box of old cables.
Before you dive into the actual labor, I find there’s a certain meditative joy in gathering your tools—much like the meticulous way I organize my collection of early 2000s MP3 players by bitrate and storage capacity. You aren’t just grabbing random items; you are assembling a curated set of drywall repair kit essentials that will dictate the success of your project. Beyond just the standard putty knives, I always suggest keeping a fine-grit sanding sponge close at hand. There is a profound difference between a rushed job and one done with intention, especially when you are learning how to sand drywall smooth to ensure the repair becomes an invisible part of your home’s history rather than a glaring digital artifact on a physical canvas.
While many people approach patching small nail holes as a trivial task, I view it as a micro-restoration of your personal sanctuary. If you find yourself dealing with something more substantial, like fixing holes in plaster, your toolkit might need a bit more muscle, perhaps a mesh patch or a more robust setting-type compound. Having the right textures on hand allows you to navigate the nuances of your walls with the same precision a digital anthropologist uses to decode a complex dataset.
Mastering Spackling Compound Application Tips
There is something oddly meditative about the way spackle meets a surface, much like the tactile satisfaction of clicking a mechanical keyboard or winding a vintage stopwatch. When you’re working on patching small nail holes, the secret lies in resisting the urge to overwork the material. I’ve found that applying the compound in thin, decisive layers is far more effective than trying to fill a void in one go. Think of it as layering a digital filter—too much at once creates a heavy, artificial look, whereas light, deliberate strokes allow the repair to integrate naturally with the surrounding texture.
As you refine your spackling compound application tips, remember that the goal is a seamless transition, not a mountain of filler. If you find yourself dealing with deeper divots, you might need to employ more advanced drywall joint compound techniques, applying a second coat only after the first has fully set. This patience prevents the dreaded shrinking or cracking that can ruin your hard work. It’s all about that delicate balance between the physical substance and the space it’s meant to inhabit, ensuring the final result is as smooth as a freshly polished MP3 player.
The Fine Art of the Invisible Mend: Five Nuances for a Seamless Finish
- Patience is your greatest tool; much like waiting for a slow dial-up connection to finally load a heavy image, you must allow each layer of compound to dry completely before attempting to sand it down. Rushing the process is the quickest way to end up with a bumpy, uneven texture that screams “DIY disaster.”
- Think like a digital restorer and aim for “less is more.” It’s tempting to overfill a hole, but applying thin, strategic layers is far more effective than one massive glob. It’s the difference between a smooth, high-resolution render and a pixelated, messy approximation.
- Don’t neglect the prep work of cleaning the perimeter. Just as a vintage MP3 player needs a clean port to function, a wall patch needs a debris-free zone. Use a damp cloth or a soft brush to clear away dust and loose flakes, ensuring your new material actually has something solid to bond to.
- Master the art of the “feathered edge.” When you’re spreading your spackle, don’t just focus on the center of the wound; gently sweep the edges outward until they transition almost imperceptibly into the surrounding wall. You’re looking to create a gradient, not a crater.
- Always keep a keen eye on your lighting. I often find myself using a handheld flashlight at an angle—much like how I’d inspect the fine circuitry of an old pager—to catch those tiny shadows and ridges that a direct overhead light might hide. If the light reveals a bump, the eye will too.
The Final Layer of Connection
As we step back from the dust and the drying compound, it’s worth reflecting on the journey we’ve just taken from a jagged hole to a seamless surface. We’ve navigated the nuances of selecting the right tools, the delicate precision required for spackling, and the patience needed to let each layer set perfectly. Much like troubleshooting a finicky, first-generation MP3 player, the secret lies in the incremental approach—it’s rarely about the grand gesture and almost always about the small, methodical corrections that eventually lead to a smooth, unified whole. By mastering these steps, you haven’t just fixed a structural flaw; you have successfully restored the continuity of your physical environment.
There is something deeply grounding about working with our hands to mend the world around us, especially in an era where so much of our existence feels ephemeral and pixelated. Every patch we apply is a quiet act of stewardship, a way of saying that our physical spaces are worth the effort of preservation. As you sand down that last bit of grit and prepare to apply a fresh coat of paint, remember that you are doing more than just home maintenance. You are participating in the beautifully tactile ritual of upkeep, proving that even in a hyper-digital age, the most profound satisfaction often comes from the tangible act of healing a space we call home.